At last! Now, when your aircraft's structure allows (or begs you) to side mount the servos, this sidemount kit makes your life easy! Created by ProModeler, this is how you get professional results without
adding much in the way of weight, or risking your model's control integrity to old fashioned hardwood blocks and glue.
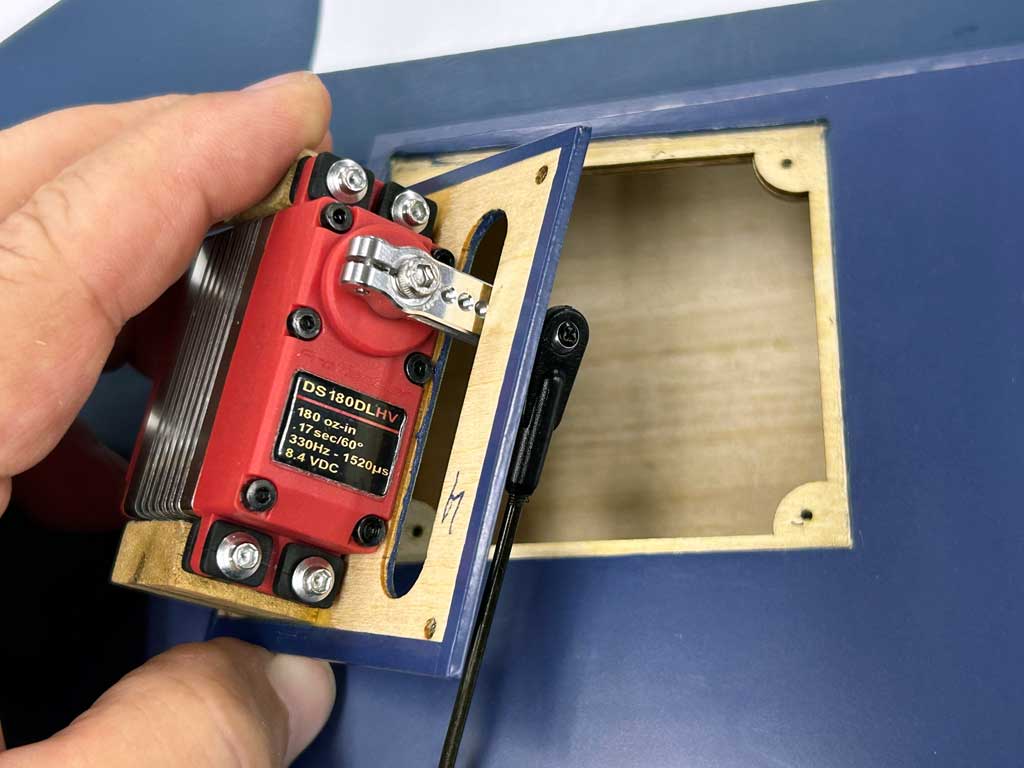
CNC-machined from a solid billet of 7075-T6 aircraft aluminum (and hogged out to reduce all possible weight), it incorporates four mounting screws (tapped M2 and supplied with countersunk grade 10.9 alloy steel screws), plus the mounting screws and washers for installing the servos - these also being grade 10.9 Allen head (so there's no monkeying around with tiny Phillips head screws). When you seek the ultimate in mounting, this is how the pros do it.
Allow me to bring some things to your attention. First, as regards the flat-head Allen machine-thread screws we supply for attaching the mount to a hatch. You'll note, they're a black oxide finish. It was that, or opt for stainless screws to obtain a bright finish (I don't trust plated to resist rusting as much).

So the engineer in me argued for the black oxide due to the improved thread strength of grade 10.9 (versus stainless). This, because the thread profile for an M2 screw is minuscule. And yes, I can hear some of you muttering, But they're threading into aluminum, who cares about thread strength when you'll strip out the aluminum first!
Well, that's actually kind of true except we don't use an ordinary of aluminum. The sidemounts are machined from a solid billet of 7075, which rivals the strength of 1018 steel. For the material geeks amongst you, when compared to 6061, an alloy of 7075 adds about 5% zinc, plus more than doubles the magnesium and copper in the alloy.
Makes 7075 one of the strongest aluminum alloys available. And since I made the comparison to 1018 steel (an iron alloy), the numbers back me up, e.g. Brinell Hardness is 150 vs 140, Poisson's Ratio is 0.32 vs 0.29, Shear Strength (MPa) is 330 vs 300, Ultimate Tensile Strength (MPa) is 560 vs 480 and Yield Tensile Strength is 480 vs 400.
So 7075 is substantially harder than 1018 steel (and much more so than 6061). Means ordinary rules about screws striping out aluminum don't necessarily hold. Most especially when the screws are so teeny-tiny. But I digress.

But in truth, the real reason for using black oxide had nothing to do with engineering and everything to do with presentation. Basically, the four black screw heads virtually disappear when they're black and stand out like a sore thumb when they're bright. And bit of matching heat shrink covering or a dab of paint really makes them disappear!
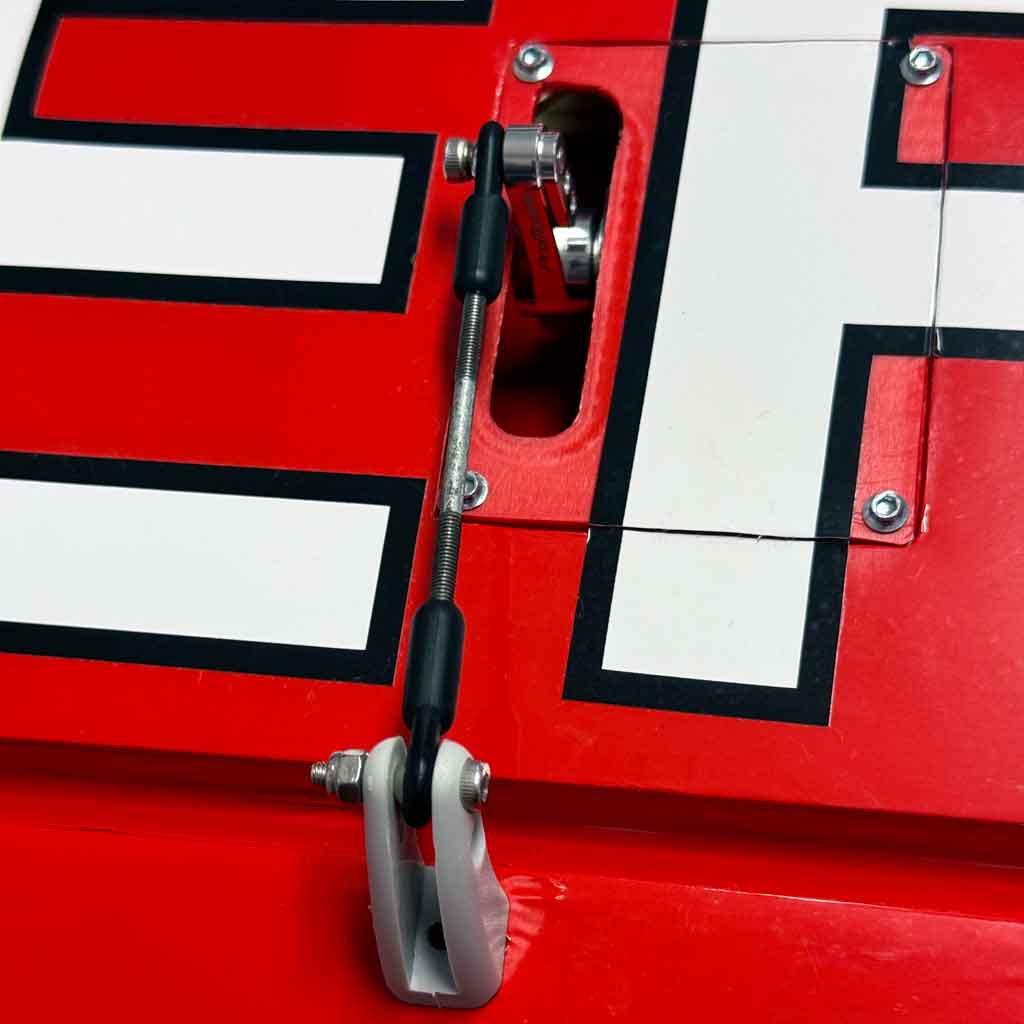
Second, as regards the supplied M2 servo-mounting screws, these are also black oxide finish grade 12.9 Allen head machine thread screws.

These don't generally back out due to vibration because once they contact the supplied washer and they just touch the rubber of the isolation mount, this preloads the threads. Now they automatically resist vibration. Thus, it's our experience they don't really need thread locker.
Third, I would like to add this; and it's in regards to installing the sidemounts. They're designed with the 99% in mind. Basically, almost all models use 1/16" aircraft ply for servo access. So the alloy mounts being flat is a non-issue because the hatches are flat. But if the hatches are curved, e.g. to match the airfoil, then be careful not to flatten them when tightening the mounts to the underside.
Basically, my advice is once the sidemount just contact the curved surface, stop tightening to avoid distorting. Of course, this results in a gap beneath the center of the mount because it doesn't curve to match the airfoil. Easy solution is to simply butter the back of the mount using a mix a bit of epoxy with microballoons (at about the consistency to peanut butter) before installation. Then once the mount-edges make contact with the hatch surface, stop tightening and wipe off the excess mix. Do this first with dry paper towel, then with a finger tip dipped in alcohol. Now set aside to cure.
Note; applying a layer of packing tape to the back of the mount makes subsequent removal easy.