The principal DS1735BLDP use in RC trucks is steering. Big fast powerful rigs abuse steering servos like nothing else on Earth, but durability is the prime consideration.
Demanding applications like an SCX6, 1/5 EXB, or DBXL-E (and a host of others in the heavyweight-class) require the best performance considerations - like centering, power, and speed - but always rugged durability above all. This servo is engineered to deliver in spades! Let's see where the ruggedness is built in.
For example, the all-alloy case looks trick, but lots of imports servos have alloy cases. What separates ProModeler is how it's built.
Case has several jobs . . .
- Mounting tabs
- Cooling fins
- Transmission section
- Hard points for gear shafts
- Steel gears
- Environmental protection (seals)
Electronics Section
- Million-cycle potentiometer
- Potting compound on PCB
- Slip-fit brushless motor
To begin, the foundation is the 10-bolt construction. It's one where Allen head machine thread fasteners thread into the center case. This makes it more rigid in torsion (twisting force that's trying to lever the case sections apart and screw up the gear mesh). Reason this is important is if the gear-mesh changes under load it creates bad wear patterns leading to failure (basically bad juju for any servo).
Speaking of gears, they're all-steel. Why steel? Simple, because it's the best and most durable material available. For example, did you know NASCAR, drag racers, Ferraris, and Corvettes use all-steel gears, also? There's nothing better. Fact.
But equally important is where the steel gear shafts are anchored. In this servo, the gear shafts are anchored with bronze hard points embedded into aluminum. These reinforce the case and spread impact loads. Servos without these soon end up with round bores for the shafts that get pounded into an egg shape, thus allowing the gear mesh goes to Hell.
Believe me, if that happens then it's new gears 'and' a new case because you can't put new gears into a case with worn bores (you can but they'll get trashed really quickly). So what this really means is those servos are throw always. It's our view you're better off if we reinforce the case to begin with, agreed?
DP = Direct Power
Direct Power . . . what's this mean? For
anything you have in mind to use this servo you need to feed it a max
of 8.4V. Doesn't mean you can't steal power from this 2S pack to feed
the receiver too (consumes very little), but you must expressly feed it a
clean source of 8.4V.
So there are two basic types of surface
model this servo is commonly used in, gassers like a Losi 5ive and
electric like an SCX6, DBXL-E, etc. For a gasser like a Losi 5five, this
power source is going to be a 2S pack like this B2S2500. Why? Simple,
because the servo can draw as much as 15A of current, which routed
through the receiver would likely smoke the the lands (the little silver
and gold colored traces connecting all the components of the circuits).
This let's out the receiver's magic smoke. So smokin' the receiver is
bad juju, capice? Costs you more money!
So to address this, we
divorce the power for the receiver from the power for the servo itself.
Yes, it still needs to plug in to the receiver for receiving the control
signals (and to close the ground plane), but to operate it uses a
totally separate source of power. This comes in via an XT-30 connector.
This is how the servo actually runs the servo's motor.
To help out
the owner of a gasser like a 5ive, we offer our packs with both an
XT-30 for the servo 'and' a pair of Dupont connectors to power the
receiver and whatever else you'd like to power, like LEDs. But not
cooling fans. Never power fans from the same battery as is powering the
servo and receiver, OK? And while we offer these packs with XT30 and
dual Dupont in capacities ranging from 850mA to 6000mAh, we don't care
from whom you buy the battery pack, just that you do. Why is this
important?
Here's why, this the thing; while nitro/gassers have no
choice but to use a battery to power this thing, a byproduct of
electric powered rig like an SCX6, X-Maxx, DBXL-E, and others is they
have a handy thing as part of the ESC called a BEC, a battery eliminator
circuit. In compact rigs where a failure of imaginations leave the
rookie befuddled for where to mount a separate 2S pack, the ESC can use a
BEC-circuit to divert, or steal, some of the juice from the propulsion
pack to operate control electronics. Don't do it!
Note; rookies
love this because it's easier. They can be lazy and just charge the
propulsion packs instead of also charging a control pack occasionally.
Basically, not that they're dumb, but because they don't understand the
downside of synthetic juice yet, they think it's OK. It ain't!
Basically, onboard electronics use FET (fast switches) to regulate some
voltage down to another voltage, ike fomr an 8S 50V pack to a 3S 2-cell
pack, or 4-cell - depends on the servo, remember, we offer both. Anyway,
regardless, son't do this to power the servos.
Essentially, 100%
of the times you interpose electronics between a battery and the control
circuit you're decreasing the quality. Creating a synthetic power
source is in no conceivable way even as good as any chemical source on
the planet. Physics.
In short, there's no way a synthetic source
is close to as good as natural chemical-generated power, it's like
digital versus analog - seriously! The point I'm trying to make is no
matter your budget, a BEC 'being digital can never' be as clean as the
real thing. And if you know more about this than us, then we don't need
to tell you, and if you know less than us, then read this to learn more.
propulsion battery We advising using a battery instead
of a BEC because we don't want to warranty their product' delivering
what they promise. Anyway, a battery is better than any synthetic source
(meaning a BEC) for the same reason the best computer UPS (power back
up) offer clean sine-wave versus digital delivery square-wave.
Basically, the power of chemistry beats electronics and can't ever spike
overvoltage like a BEC can. Just can't. And the current is higher
without qualifying language regarding temeperatures and air flow cooling
considerations weawel words the BEC manufacturers use.
Chemical
beats digital every day. Downside is it's more trouble because in
addition to the propulsion battery you're going to do the same as nitro
racers do, maintain a separate control-power battery. Oh well, comes
with the territory.
., we advise using a LiIon instead of LiPo
because the metal shells protecting the cells are more robust than the
Ziploc like polymer of a LiPo. Performance is macht nichts. Mounted
between the shock struts delivers a compact package with the easy
maintenance afforded by a clean looking installation. These three servos
fit your SCX6 and which is best is up to you.
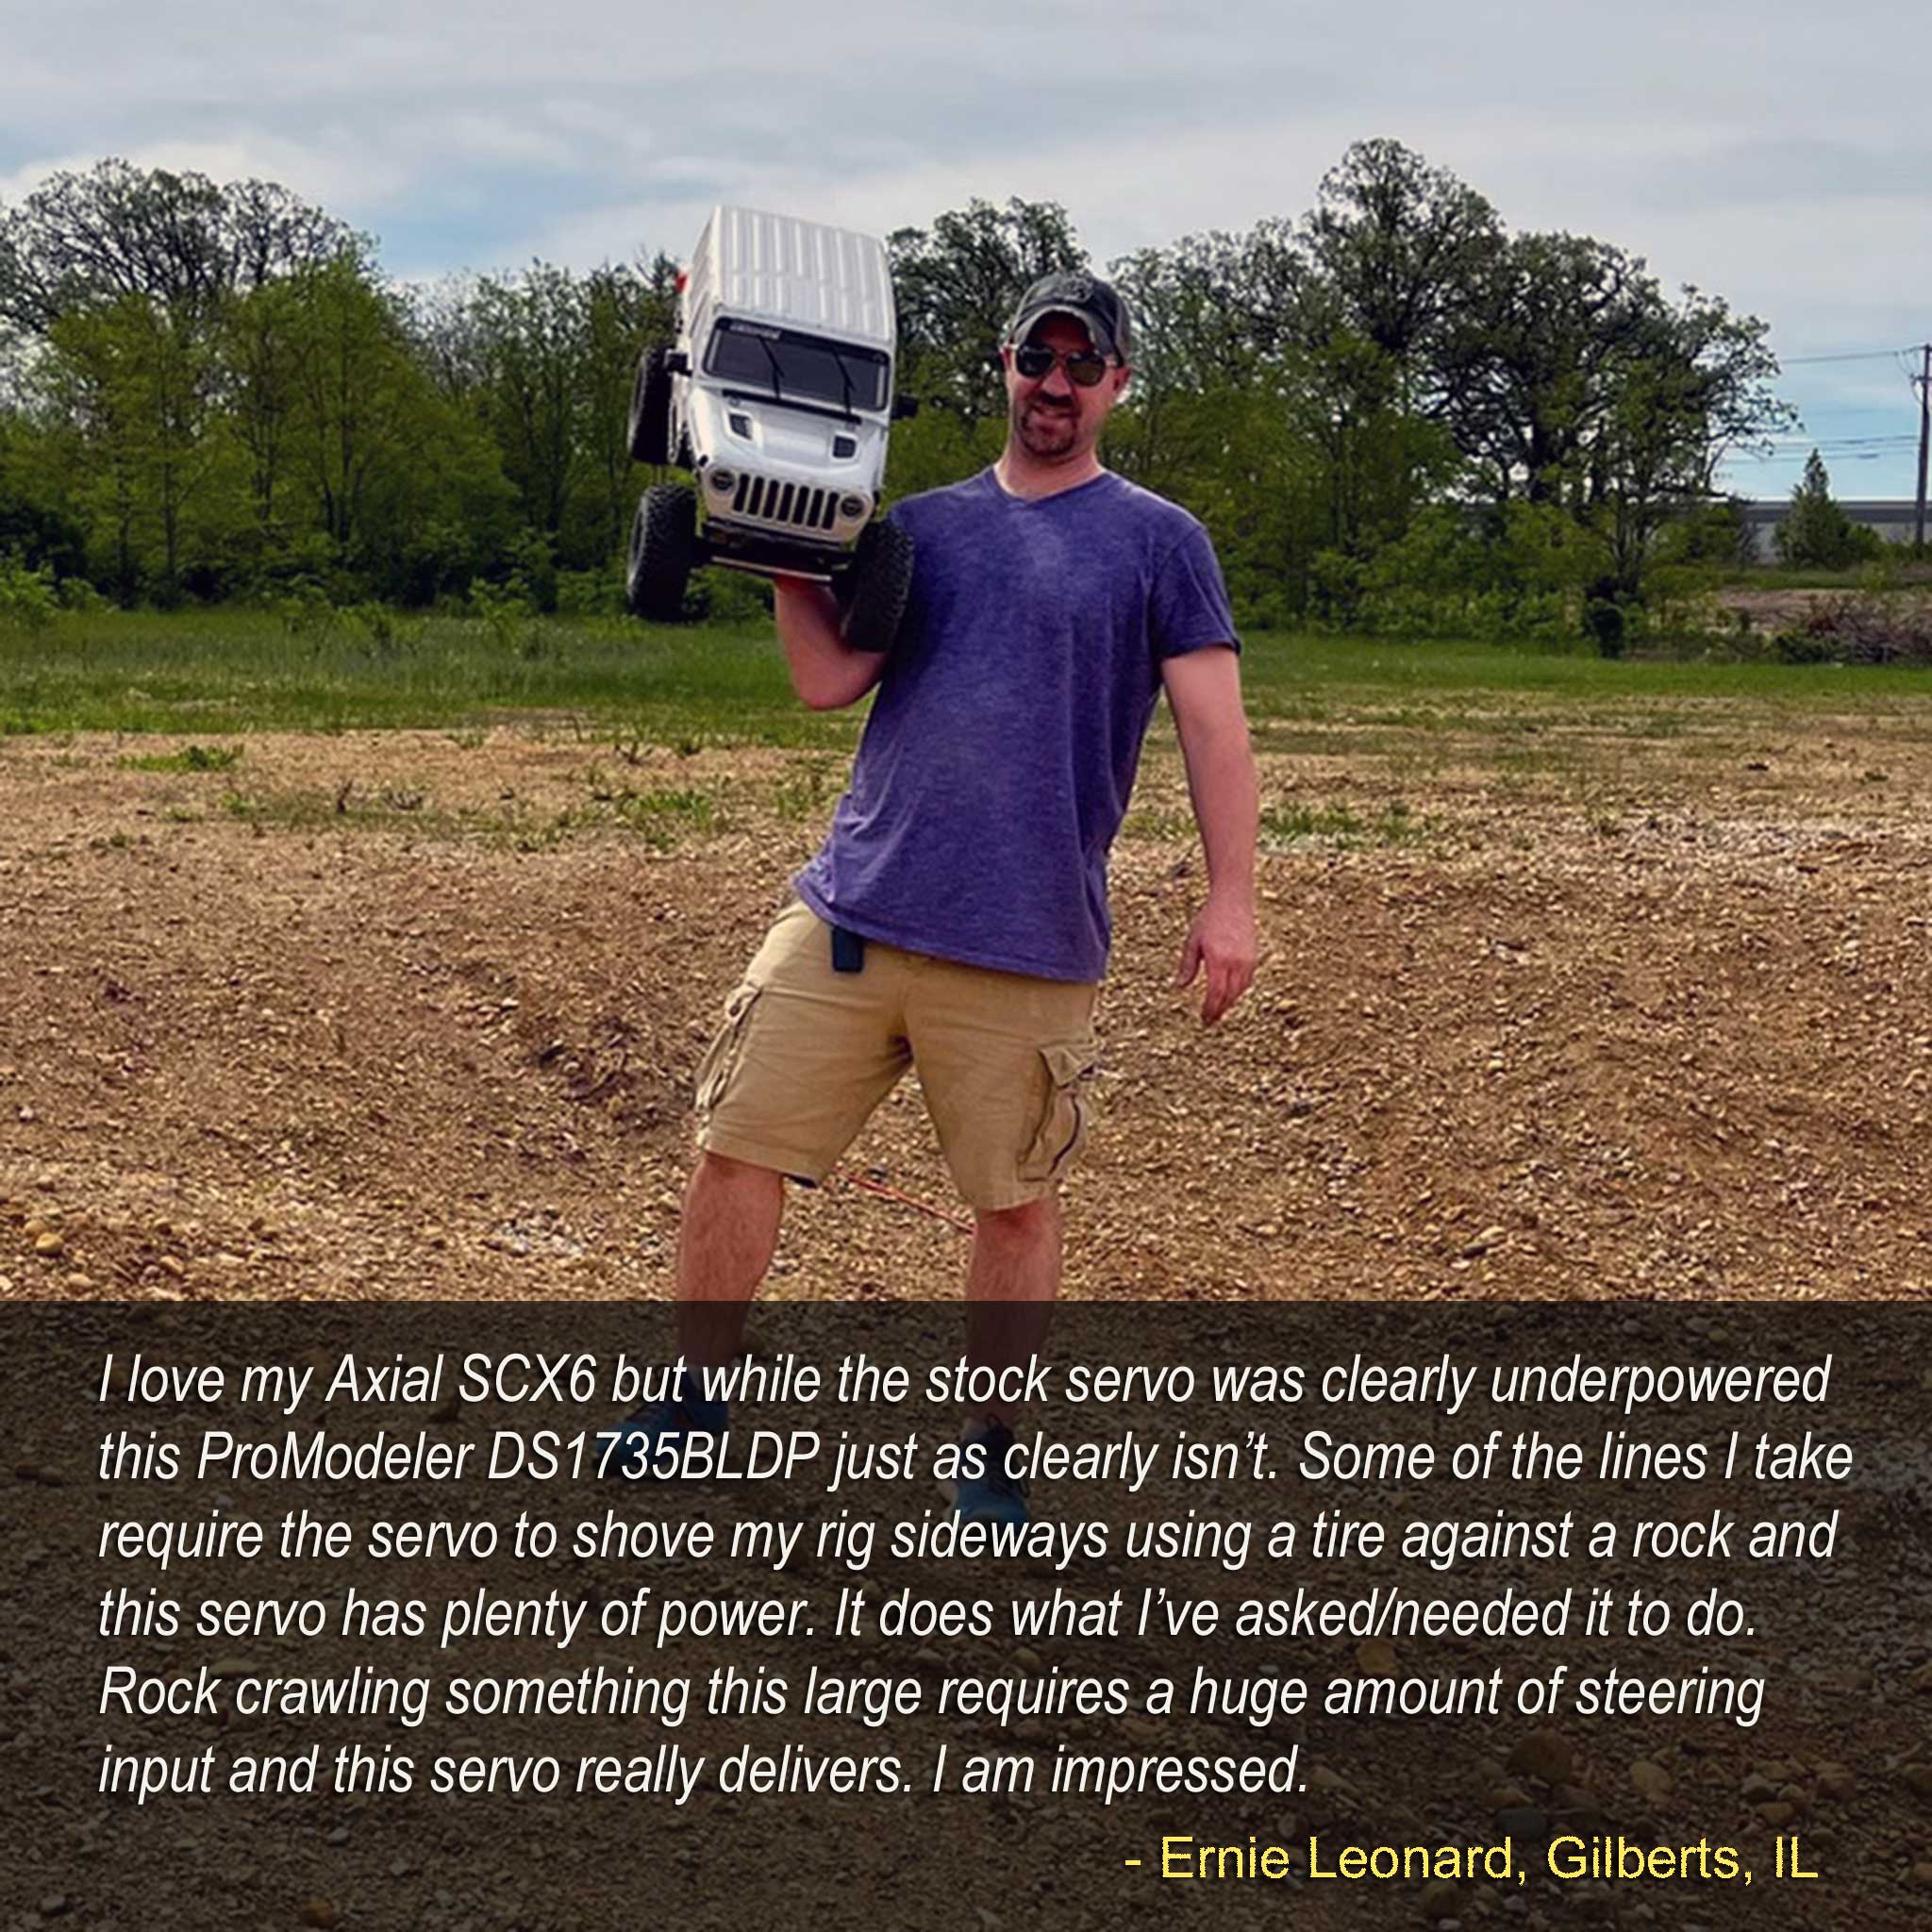
Axial's SCX6, an immensely popular large scale rig, is very rough on servos making the DS1735BLDP well suited for the rugged duty owners put the model through.

SCX6 we offer three great alternatives, the DS1735BLDP (2S), DS1885
(4S), and a DS2180, once again (2S). The (4) means up to 4S power, or
3.7x4, 14.8V nominal, we call it 15V but in practice it means a pack at
16.8V coming fresh off charge. Similarly, 2S means 7.4V nominal but in
practice this is 8.4V in the real world.
DS1735BLDP
DS1885BLDP
DS2180BLDP
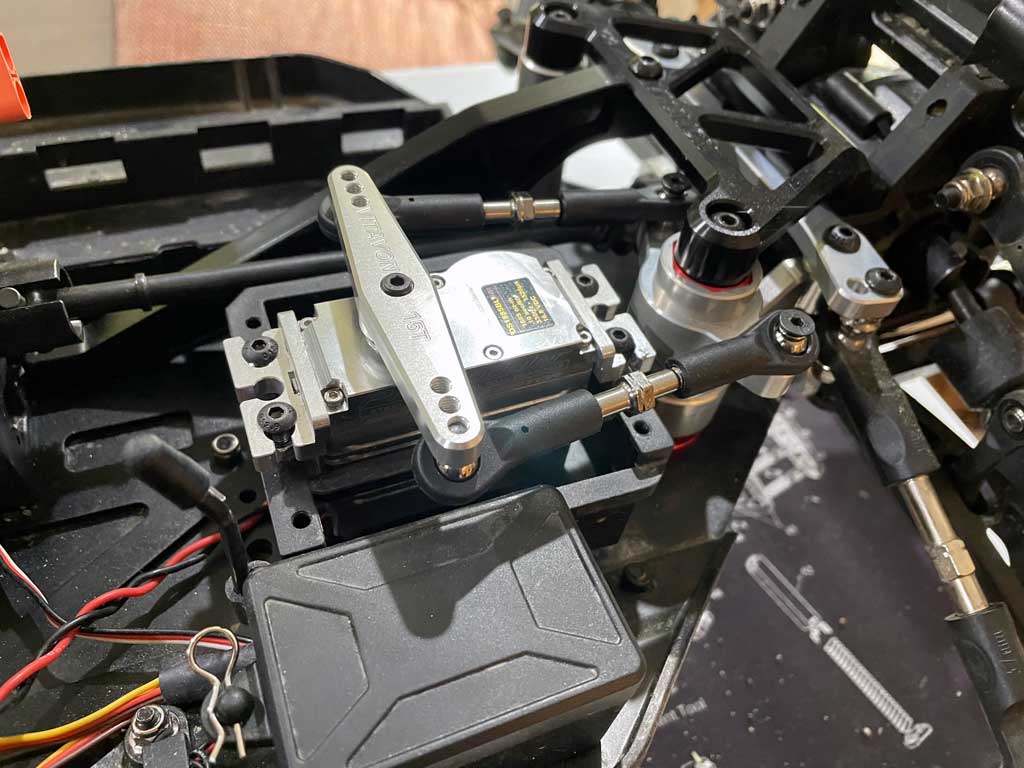
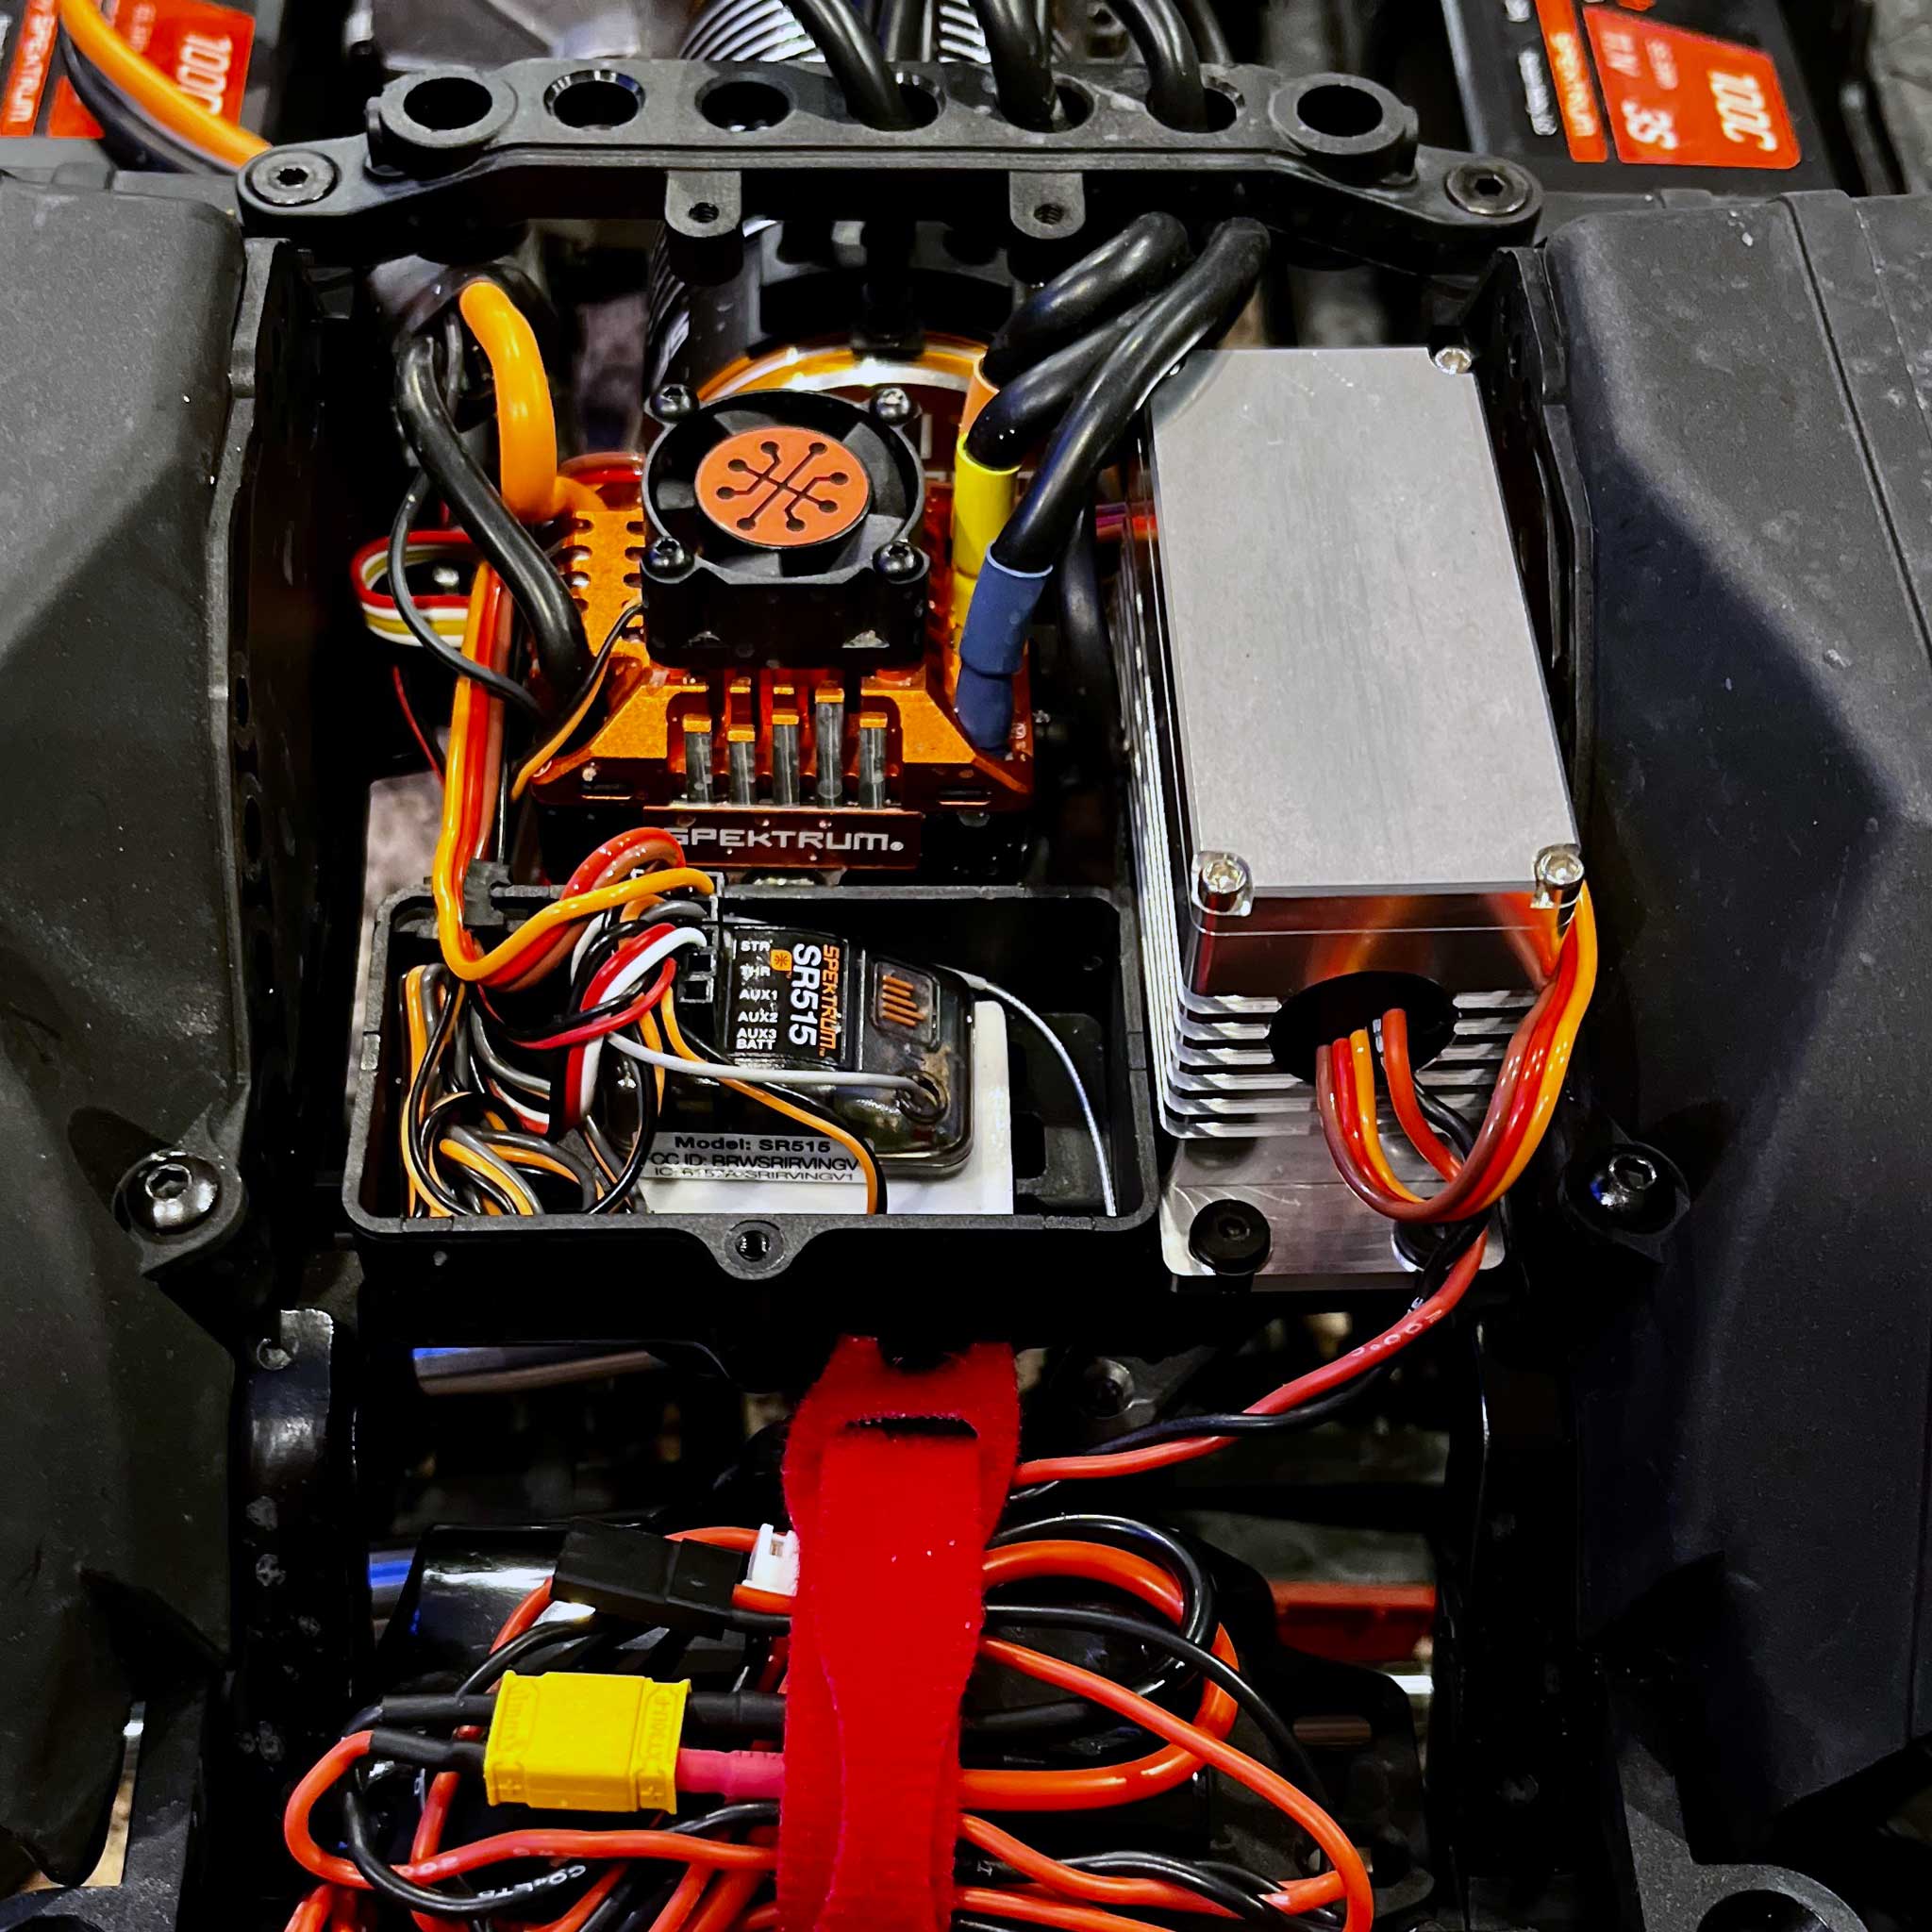 - Final installation of the direct power DS1735 servo within the Axial SCX6 truck
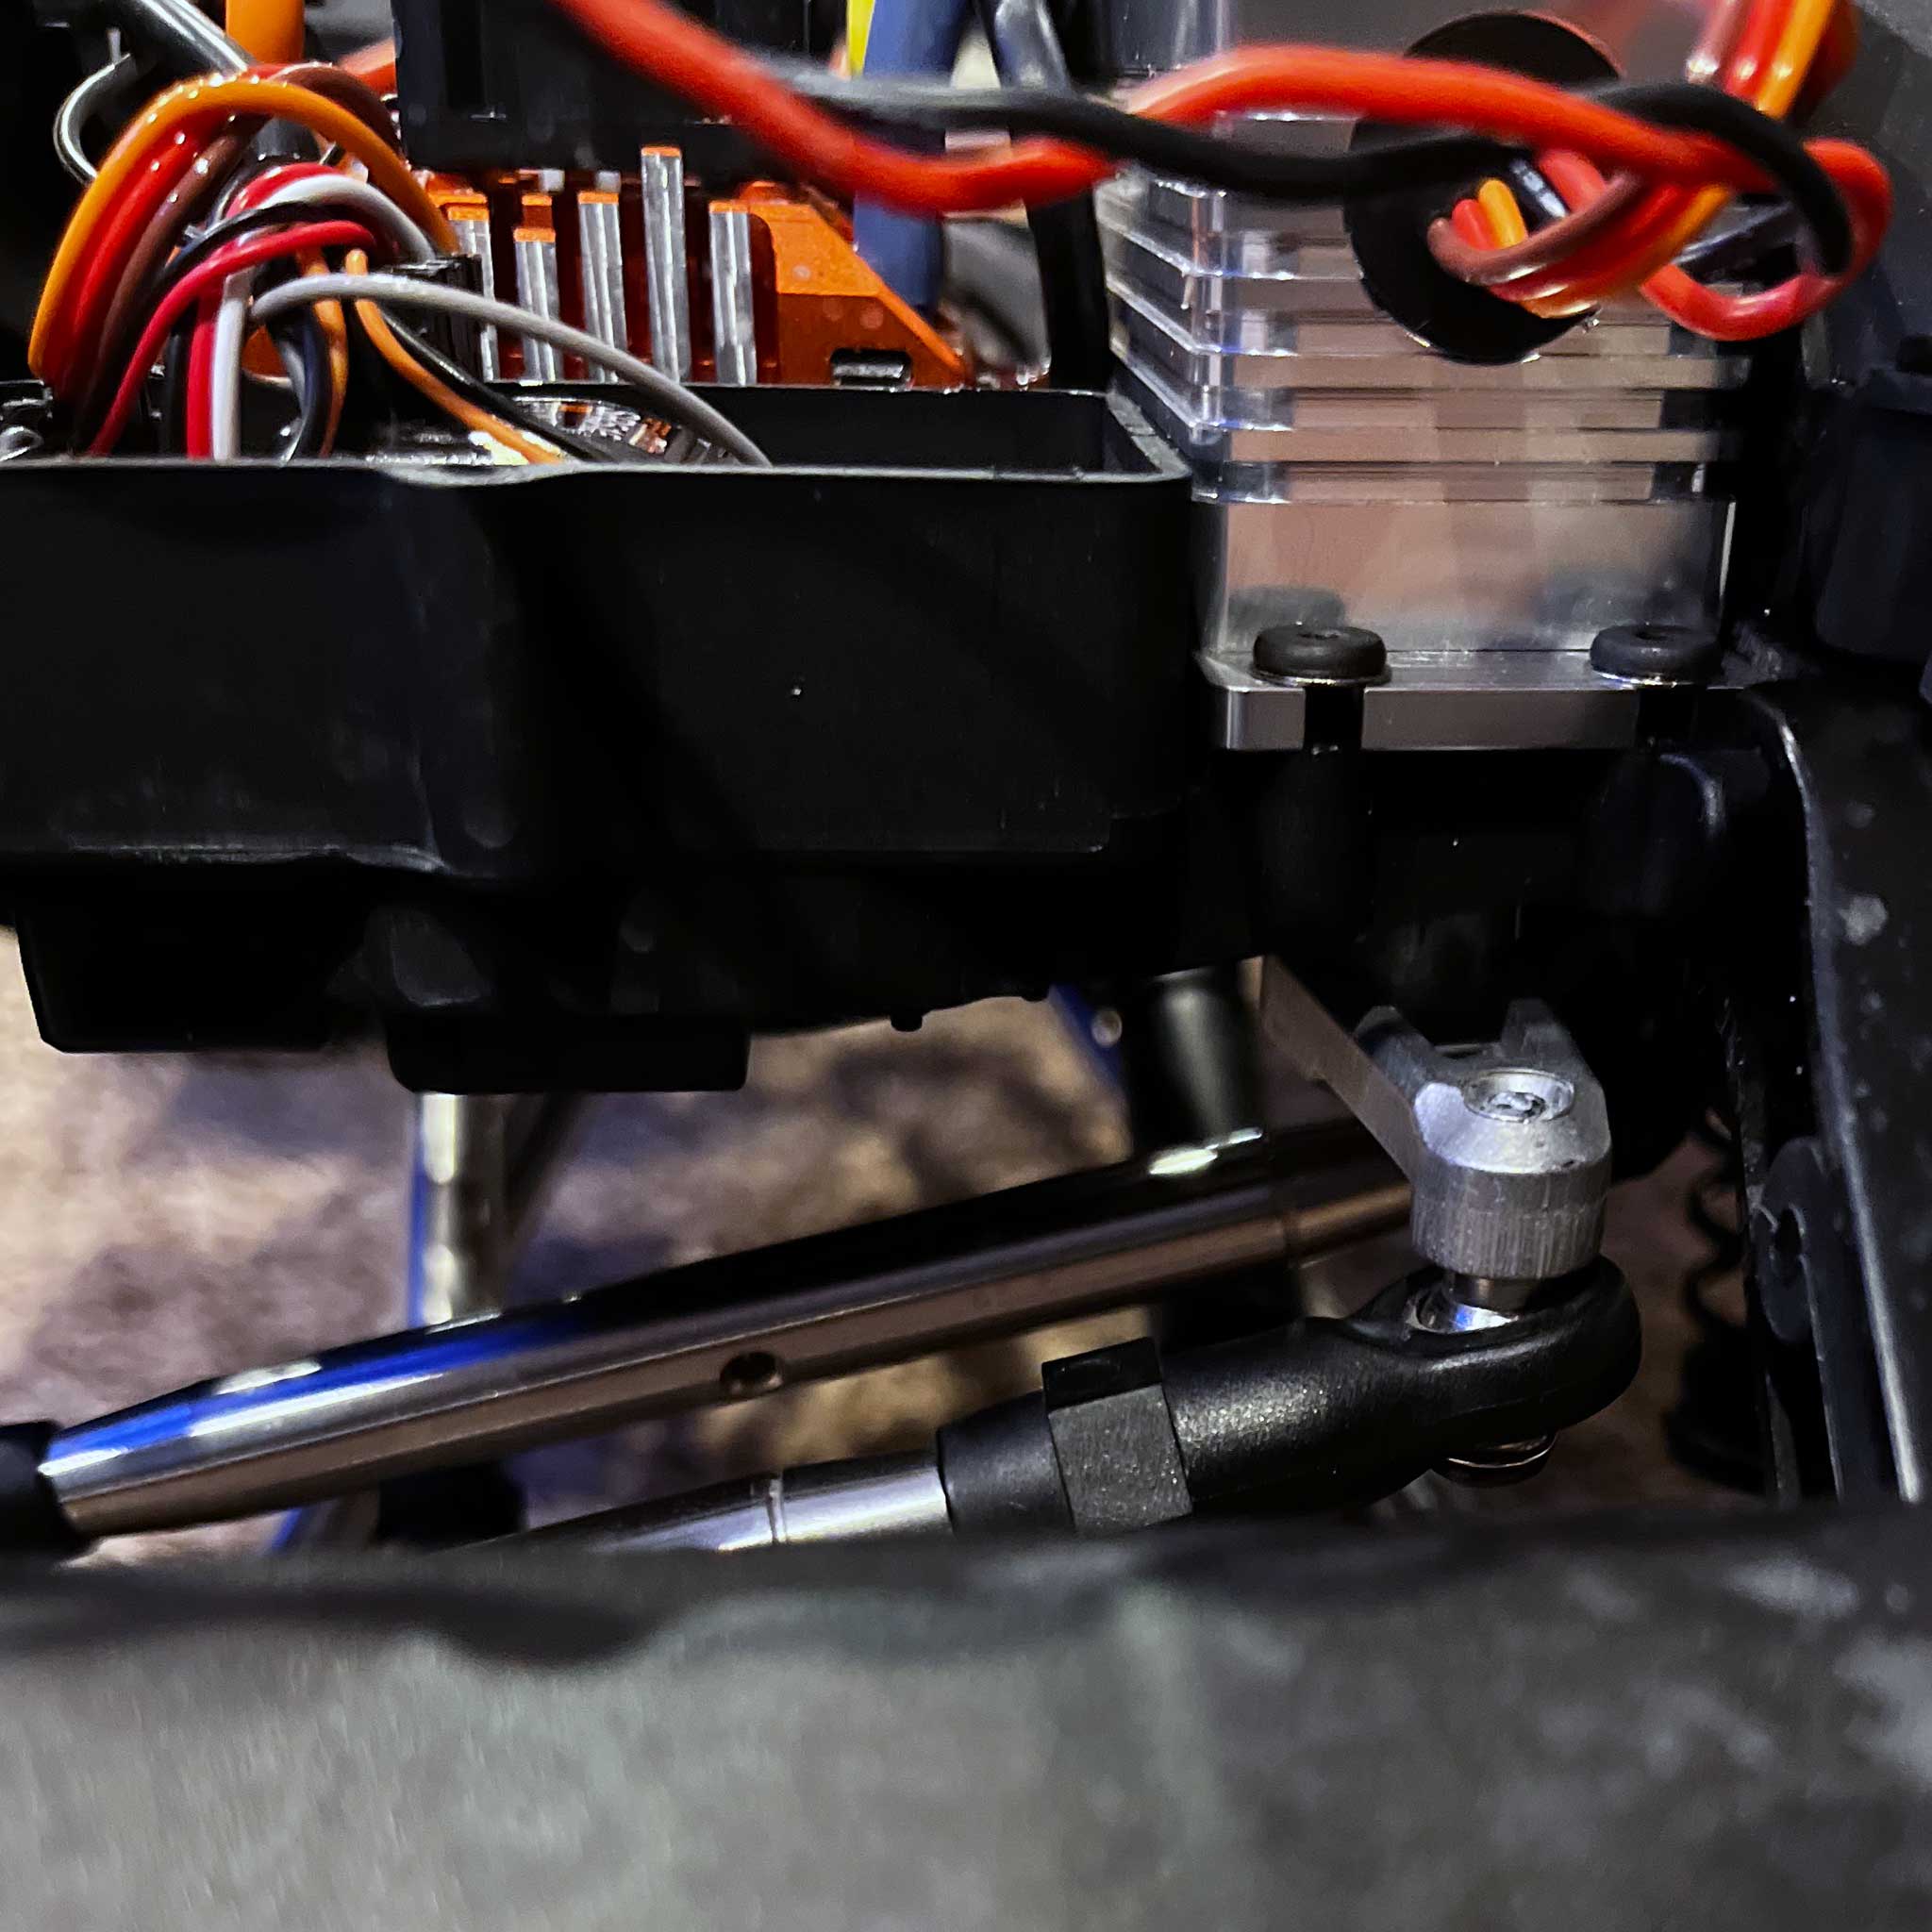
- Closeup look at the stock servo arm, which is retained helping save a few bucks!

- A different perspective of the DS1735 installation - this time from beneath
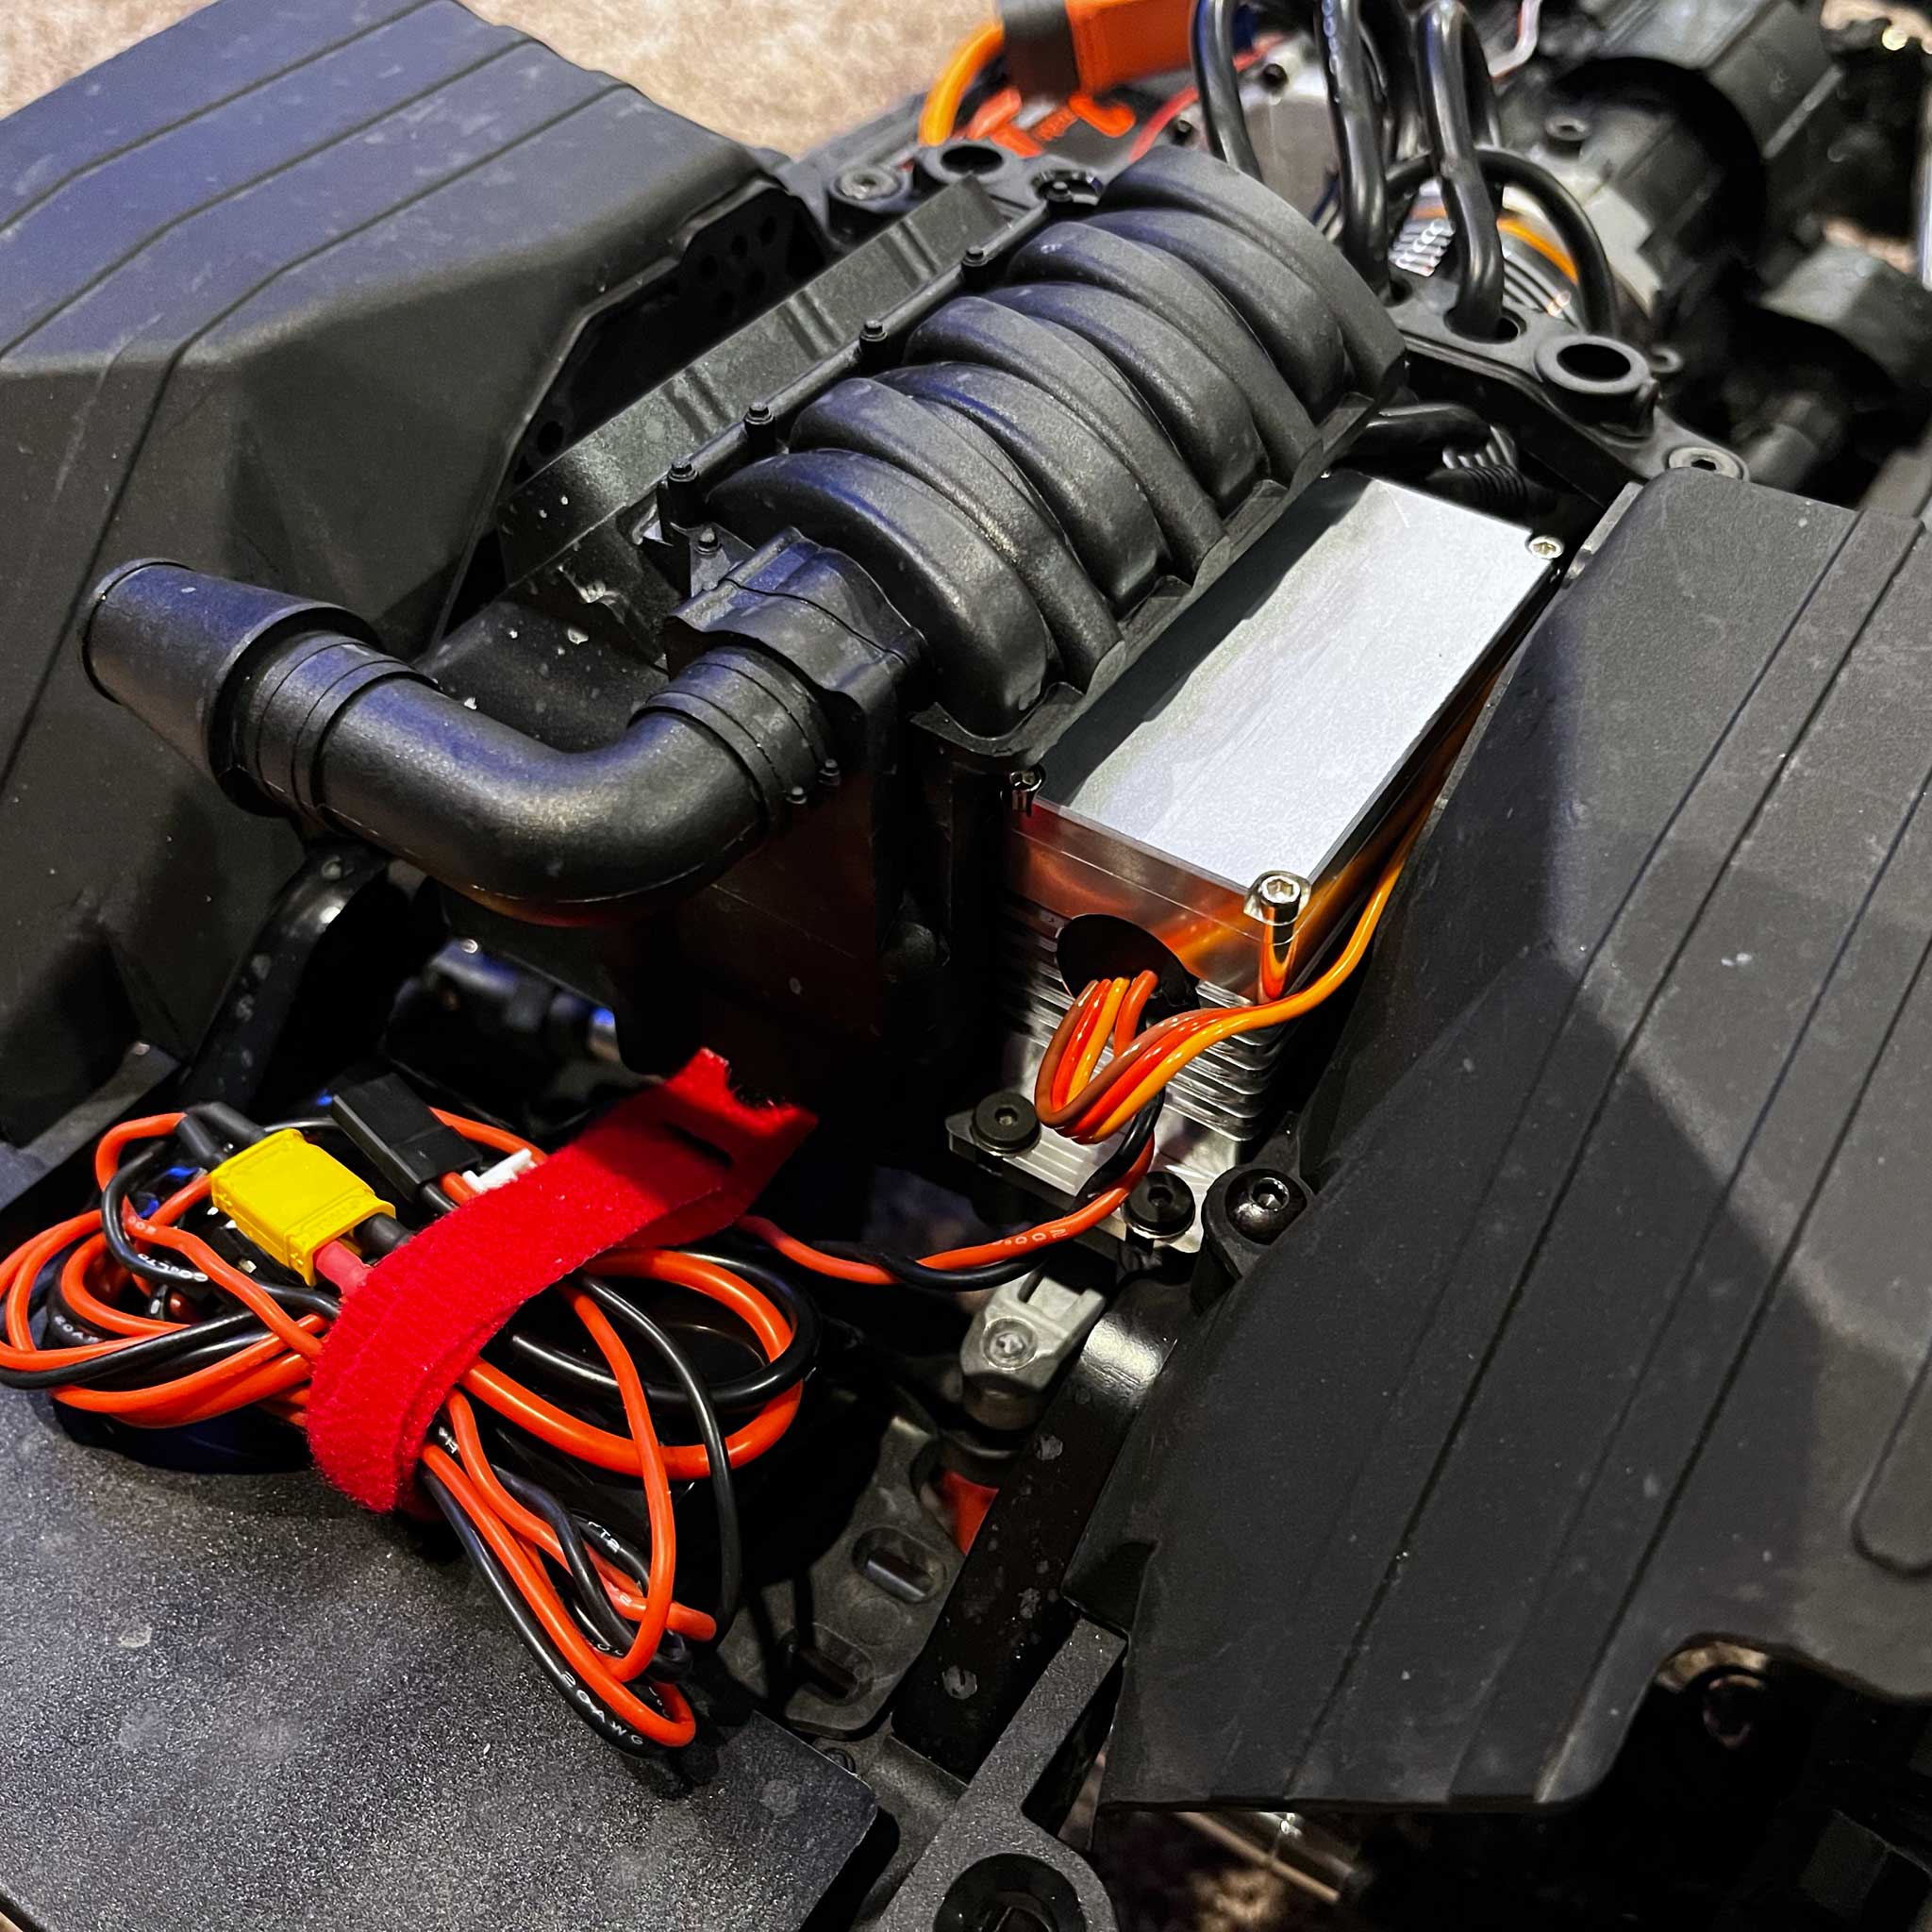
- Engine cover installed you can really appreciate the clean DS1735BLDP install
TEMPORARILY shows DS1885BLWR being installed but the DS1735BLDP fits similarly
Installation into this Losi DBXL 2.0 is a doodle. Basically you're going to shim it 5mm higher and replace the stock arm with one of ours along with a pack of adjustable links to compensate for the slight difference in output shaft position. That's it, easy peasy!
So the first step is to survey what you have, often a Spektrum SPMS906 steering servo.
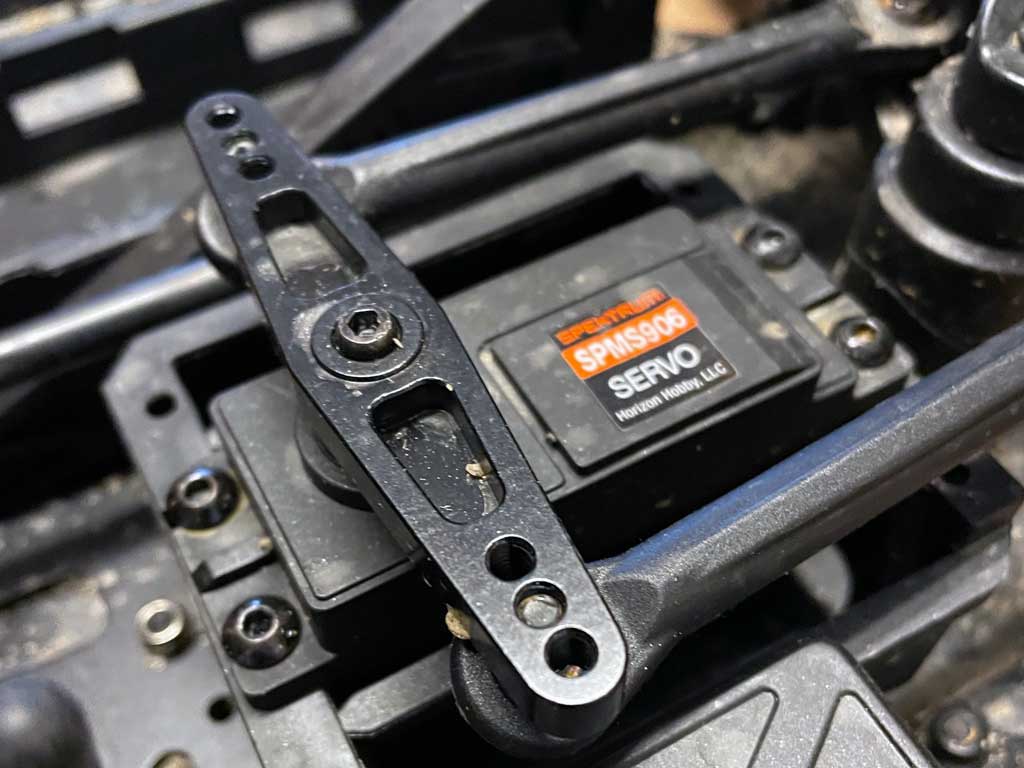
- The stocker is a Spektrum servo, not bad per se but no pork belly, that's for sure!

Step two is removing the stock servo, which is so easy we won't tell you how. Please excuse the dirt!
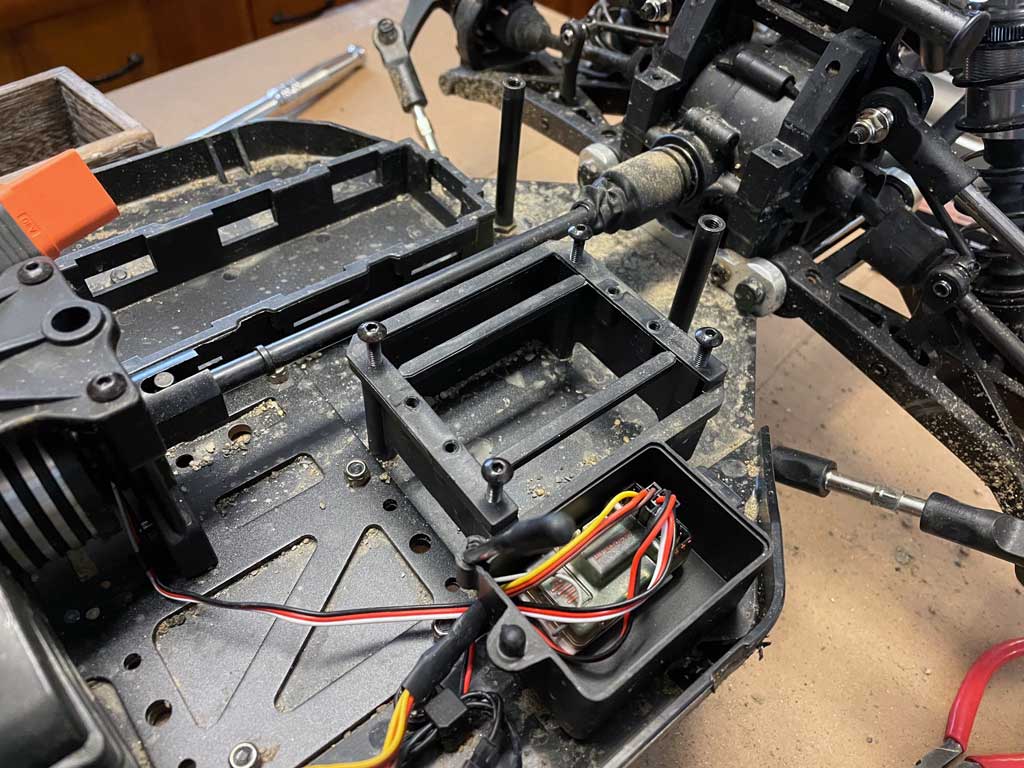
- Look at the size of the installation bay - it's ginormous.
So next you're going to fix the beam mounts to the servo. A small drop of threadlocker is all that's called for, word to the wise.
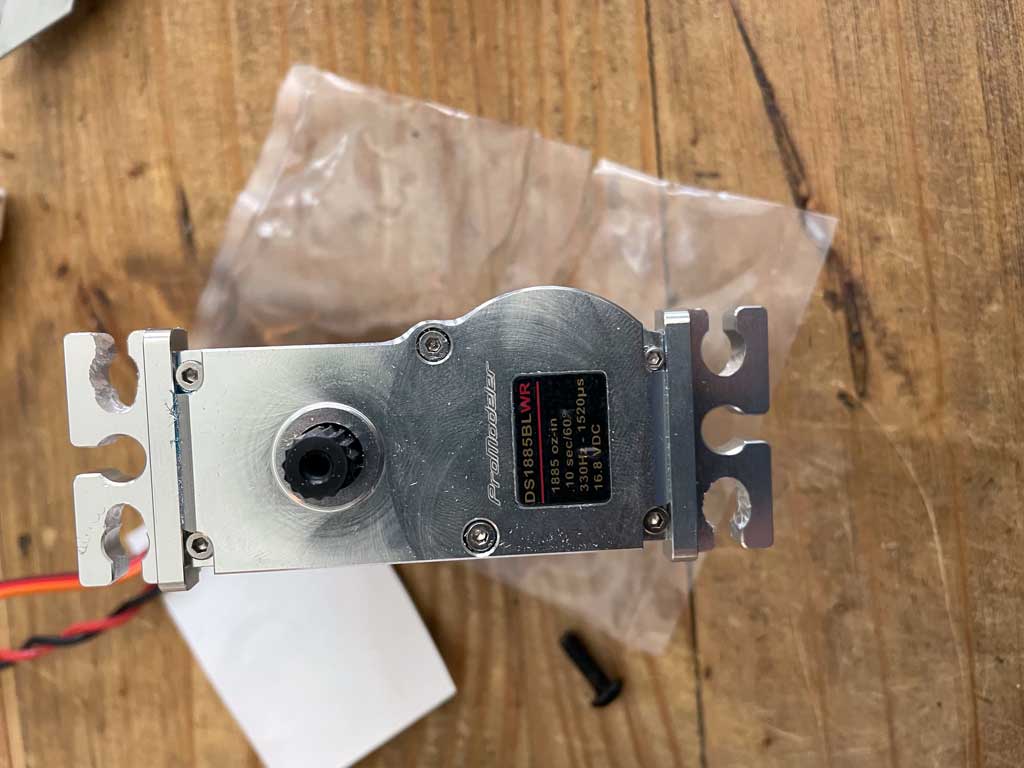
- One the beam mounts are installed we're almost there.
All that's left is to shim the servo. Some 5mm thick shims will do the trick (hardware store item)
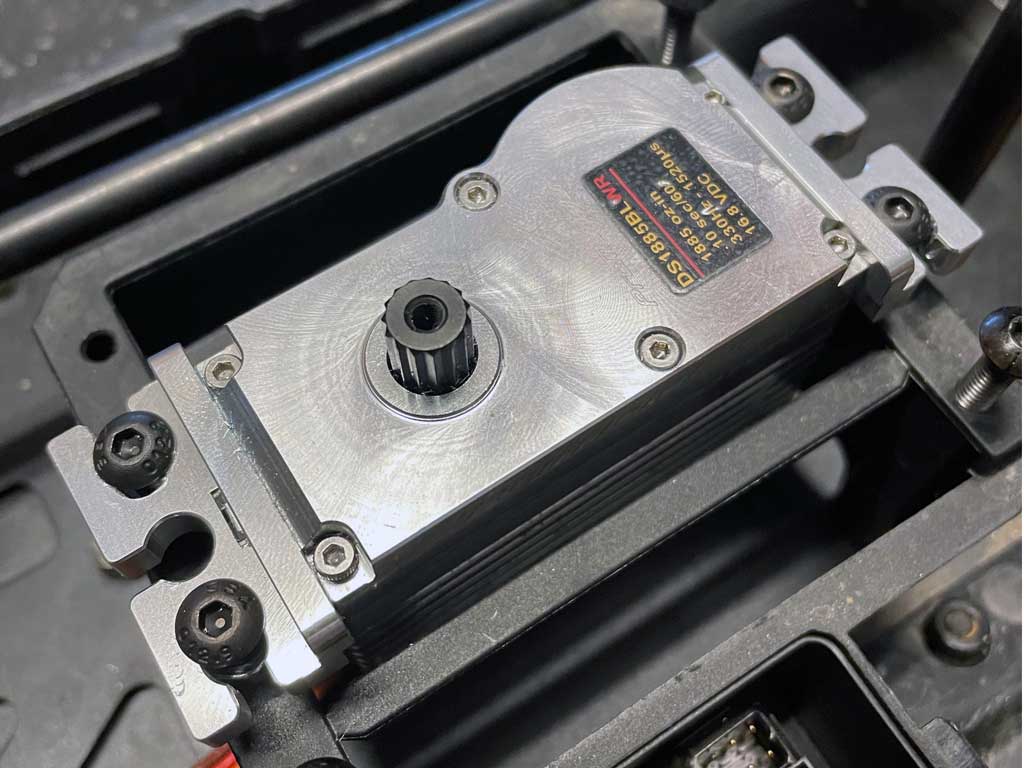
- Looking pretty good sitting there, eh? The Losi DBXL-E 2.0 is very generous in terms of space with which to work.
So we're almost done. All you need is a set of dual-linkages to replaced the fixed length plastic pushrods with ones you can adjust.

- While there are tons of available linkage kits, Losi's LOI351014 work just fine
So the last step is to install the linkage rods onto a servo arm and a PDRS40D-15T will do nicely.
 - Subtrim the servo center, and set the end points and you're done!